Posted on: JUL 7, 2020
Posted by: STOKES COFFEE
Tags: How-To Guides & Tutorials
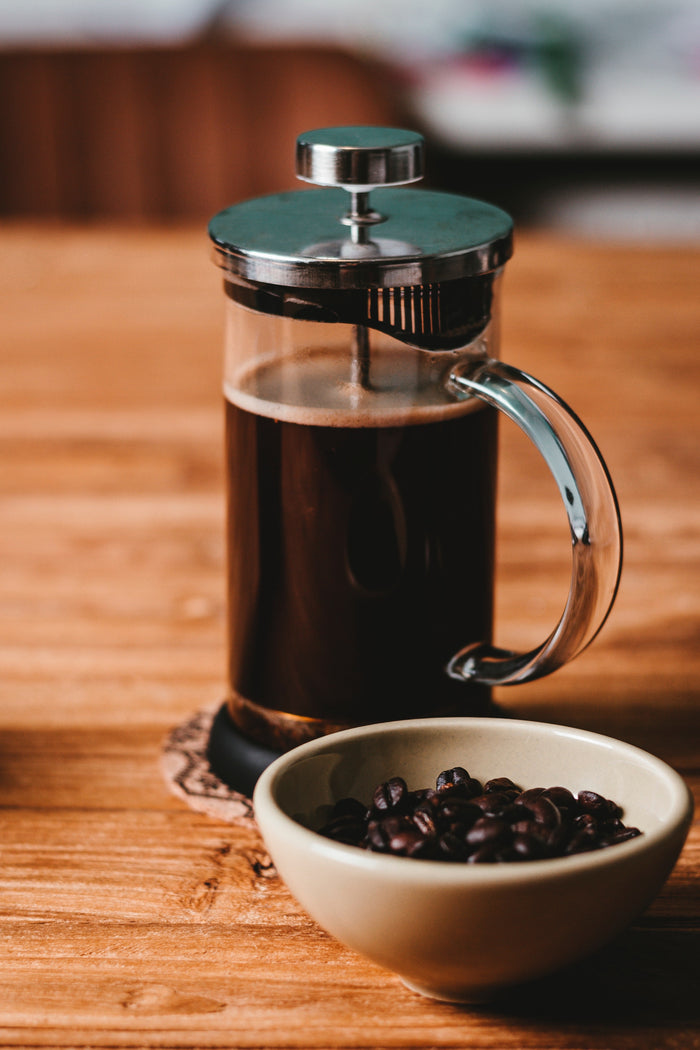
Welcome to the 2nd of our blogs aimed at helping you brew the best possible coffee at home. We’re going to be looking at the cafetière, one of the most ubiquitous brewing methods out there. I’m willing to bet that almost everyone has a cafetière buried at the back of a kitchen cupboard somewhere, so if you haven’t used it in a while, dig it out and we’ll start brewing.
There are thousands of in-depth brewing guides for the cafetière already out there and to be honest I don’t have anything new to add to the pile on that front, so this article will look at the cafetière’s pros and cons in a more general sense. If all you’re looking for is specific brewing instructions then scroll to the bottom of this article, but otherwise let’s dive in.
History: The first rudimentary design for the cafetière dates to around the late 1800s. It was a simple metal or cheesecloth screen attached to a rod that was used to separate coffee grounds after adding them to a pot of boiling water. The all-in-one design we’ve come to know didn’t appear until 1929 when it was patented by Italian designer Attilio Calimari.
Since then it’s gone through very few, if any, changes, with most updates having more to do with the materials used rather than the overall design.
How it works: The cafetière is what we refer to as a full immersion brewing method, which means that the ground coffee is in full contact with the water for the entirety of the brew. This is contrasted against percolation methods like a filter machine where the water passes through a bed of coffee to extract flavours. We tend to use quite coarsely ground coffee for a long-brewing time, although that can come down to personal preference to an extent (more on that in a bit). The use of a metal mesh as a filter is where the cafetière really finds its unique voice. The metal screen has relatively large holes, at least when compared to paper or cloth, which means that it will let through all of the oils present in coffee along with a large number of fine particles. This is what leads to the sediment you find in the bottom of your cup, which could be good or bad depending on what you’re looking for. It’s also the reason why a cup of cafetière brewed coffee has that rich, heavy body.
Pros and Cons: The cafetière is one of my favourite brewing methods and one that I often recommend people use if they’re just starting on brewing fresh coffee at home. It’s cheap and incredibly simple, but it has a huge amount of flexibility and is a wonderfully forgiving process. It isn’t necessarily ideal for every coffee, however, and some people find that the richer texture it brings can mute certain flavours.
The main variables in any brewing method are the water to coffee ratio, grind size and contact time. In a percolation method like a filter machine or V60 pour-over you would tend to view contact time as a by-product of grind size rather than something you can directly control, because the contact time is entirely dependent on the speed the water passes through the bed of coffee. Not the case with a cafetière, the full immersion nature of it means you have total control of the contact time without having to adjust any other variables. The end result of this is that you have a huge amount of flexibility when it comes to grind size; if you have a finer grind then just brew for less time to compensate for the increased surface area, and vice versa for a coarser grind. This also means that using pre-ground coffee is much less of an issue because it doesn’t matter that you can’t control the size of the grind when you can adjust contact time on its own.
One of the main features of a coffee brewed with a cafetière is the rich body and mouthfeel that it has. Whether this is a positive or negative is entirely dependent on the drinker, but either way, it will have a large effect on the overall flavour of the drink. To understand the sort of changes this can bring, we need to talk a little about what happens when you taste something. Your brain is constantly trying to process different sensory inputs and a lot of how it handles this is by searching long-term memory for some sort of reference point. When you taste something, your brain will try and find a time when it experienced that exact sensory input before and use that to help it understand what it is, you’re eating or drinking. This is why you can sometimes have intense reactions to certain tastes or smells; if you eat something and the reference your brain finds for that flavour is a time when you were very sick, you may find that flavour makes you feel nauseous.
This same process takes place for the texture of the food or drink you’re having. In other words, the richer, heavier texture that the cafetière brings can have a direct effect on how you perceive the flavours in the coffee. Again, whether this is good or bad depends entirely on personal preference and what flavours you’re looking to bring out. A coffee that has lots of chocolate notes may have those flavours enhanced because the extra body helps reinforce those flavours. I personally love to brew lighter roasted coffee with a cafetière because I love what it does to acidic flavours. A coffee full of citrus and fruit notes like a washed Kenyan or Ethiopian can go through dramatic changes when you filter it with a metal screen rather than the paper filter used in something like a V60. Those bright, crisp citrus and berry flavours can often be transformed into something more akin to a dessert or a jam by the extra body, and I find that process fascinating.
If you brew with a cafetière often, bear all of this in mind when choosing a coffee. Have a think about what changes may happen to the tasting notes when a heavier texture is introduced to them, you may be surprised at just how different it can be.
Brewing Guide: As I said, brewing with a cafetière is an incredibly simple process so I won’t spend too much time here. One thing to bear in mind is that because of the full immersion nature of the cafetière, every variable here can be adjusted completely independently of the others, so you have a huge amount of tolerance for any inconsistencies.
Grind: Fairly coarse - somewhere between granulated sugar and rock salt. Obviously the more consistent your grind the better, but the long-brewing time gives you some wiggle room here. If you’re using pre-ground coffee and the grind isn’t quite right, adjust the brewing time to compensate.
Ratio: I’d recommend starting with 1-part coffee to 16-parts water, or around 60g of coffee per litre of water. This really comes down to personal taste, it depends how strong you like your cup but as a starting point this should be pretty much perfect.
Time: Let it brew for about 4 minutes before pressing. If the taste isn’t quite right then you can adjust for the next brew; if it’s too acidic then brew it for a little longer, too bitter then brew for less.
As a quick side note, I want to talk about water temperature. You’ll often hear it said that you need to let the water cool slightly before pouring onto the coffee because you risk burning it and bringing out unpleasant flavours. This is sort of true, but not something you really need to be worrying about. During the roasting process coffee will reach 200 degrees C +, and unless there’s something seriously wrong with your kettle you aren’t going to be anywhere near that. You’re not going to introduce more negative flavour to the coffee by using water as soon as it boils, in fact, I’d recommend you do just that. The ground coffee and the cafetière itself will rapidly suck heat out of the water as soon as it makes contact, so using water the second it boils should put your brew into the ideal range of 90 degrees C to 95 degrees C that we’re looking for. Just make sure to preheat your cafetière beforehand so that the temperature remains steady throughout the brew.
I hope you find this guide useful and look forward to sharing my next installment with you soon.
Best Wishes,
Tom, Master Coffee Roaster
